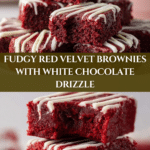
The Best Fudgy Red Velvet Brownies Recipe
Introduction
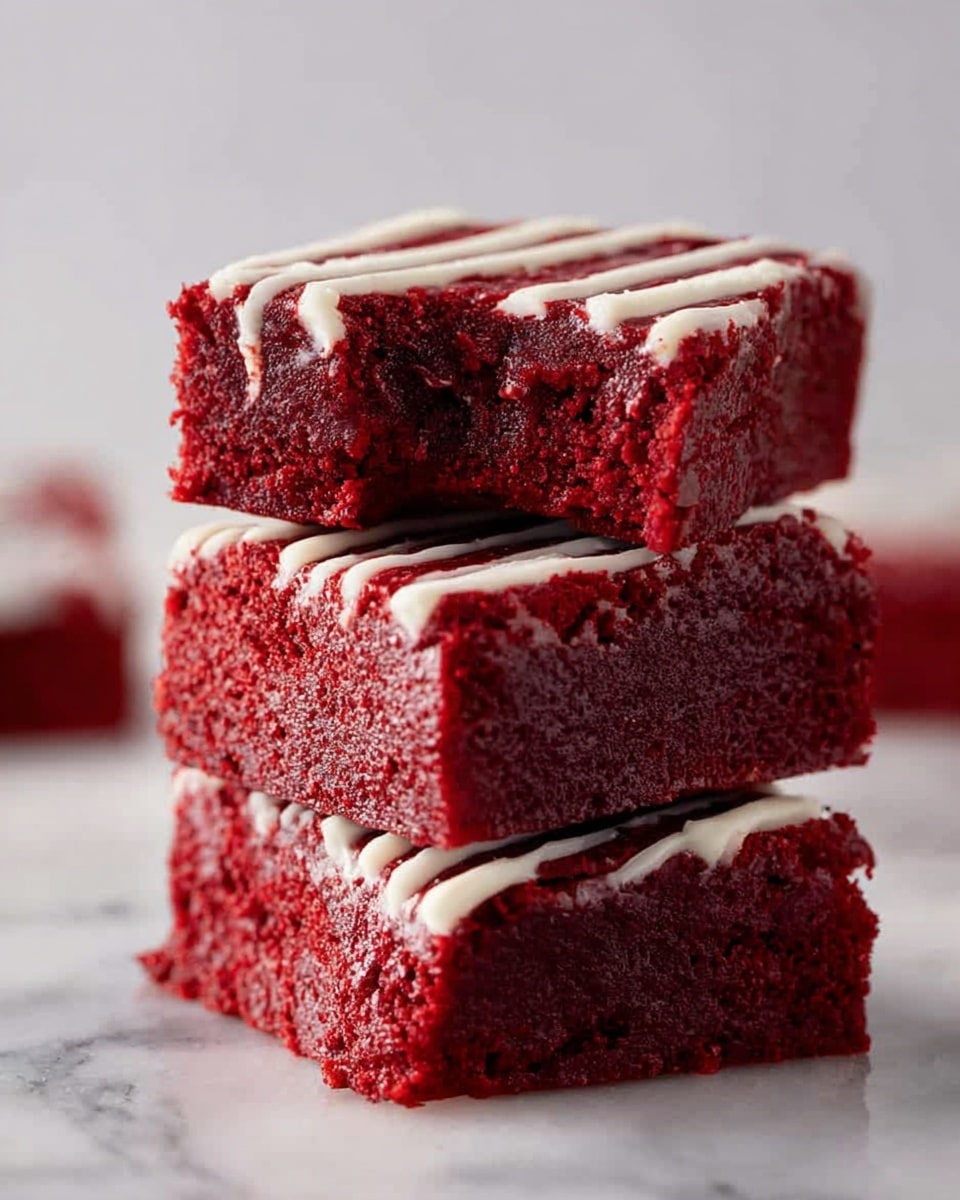
These fudgy red velvet brownies are a decadent twist on the classic treat, combining rich cocoa with a vibrant red hue. Soft, moist, and perfectly chocolaty, they make a delightful dessert for any occasion.

Ingredients
- 3/4 cup unsalted butter, melted
- 2 oz chopped semi-sweet chocolate bar
- 1 1/4 cup granulated sugar
- 2 large eggs
- 2 teaspoon vanilla extract
- 1 teaspoon white vinegar
- 1/2 tablespoon red gel food coloring
- 2 tablespoons unsweetened cocoa powder
- 1 1/4 cup all-purpose flour
- 1/4 teaspoon salt
- 1/2 cup white chocolate chips (optional)
Instructions
- Step 1: Preheat your oven to 350°F and line an 8×8 inch baking pan with parchment paper.
- Step 2: In a large microwave-safe bowl, melt the butter and chopped chocolate in 30-second increments, stirring until smooth.
- Step 3: Add the granulated sugar and mix until combined. Then add the eggs one at a time, beating well after each addition.
- Step 4: Stir in the vanilla extract, white vinegar, and red gel food coloring until evenly mixed.
- Step 5: In a separate bowl, sift together the cocoa powder, flour, and salt.
- Step 6: Gradually add the dry ingredients to the wet ingredients, mixing gently until just combined. Avoid overmixing.
- Step 7: If using, fold the white chocolate chips into the batter.
- Step 8: Pour the batter into the prepared pan and spread evenly.
- Step 9: Bake for 30-35 minutes, or until a toothpick inserted into the center comes out with a few moist crumbs.
- Step 10: Allow the brownies to cool completely in the pan before slicing into squares.
- Step 11 (optional): Drizzle melted white chocolate on top, let it set, then slice and serve.
Tips & Variations
- For extra indulgence, swirl cream cheese into the batter before baking for a marbled effect.
- If you prefer a deeper chocolate flavor, use Dutch-processed cocoa powder instead of natural.
- White chocolate chips can be mixed into the batter or melted for drizzling, depending on your preference.
- Be careful not to overmix the batter to keep the brownies fudgy and tender.
Storage
Store the brownies in an airtight container at room temperature for up to 3 days. For longer storage, refrigerate for up to one week or freeze for up to 3 months. Reheat chilled brownies briefly in the microwave for a soft, warm treat.
How to Serve
Serve this delicious recipe with your favorite sides.
FAQs
Can I use regular red food coloring instead of gel?
Yes, but gel food coloring provides a richer, more vibrant color without affecting the batter’s consistency.
How do I know when the brownies are done?
Insert a toothpick in the center; it should come out with a few moist crumbs but no wet batter. This ensures fudgy, not dry, brownies.
PrintThe Best Fudgy Red Velvet Brownies Recipe
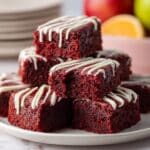
These Fudgy Red Velvet Brownies combine the rich, deep flavor of cocoa with a vibrant red color, creating a moist and dense treat perfect for any occasion. Enhanced with a smooth blend of semi-sweet chocolate and optional white chocolate chips, these brownies offer a luscious texture with a hint of vanilla and a subtle tang from vinegar, delivering the ultimate indulgence for red velvet lovers.
- Prep Time: 15 minutes
- Cook Time: 30 minutes
- Total Time: 45 minutes
- Yield: 16 brownies 1x
- Category: Dessert
- Method: Baking
- Cuisine: American
- Diet: Vegetarian
Ingredients
Wet Ingredients
- 3/4 cup unsalted butter, melted
- 2 oz chopped semi-sweet chocolate bar
- 1 1/4 cup granulated sugar
- 2 large eggs
- 2 teaspoon vanilla extract
- 1 teaspoon white vinegar
- 1/2 tablespoon red gel food coloring
Dry Ingredients
- 2 tablespoons unsweetened cocoa powder
- 1 1/4 cup all-purpose flour
- 1/4 teaspoon salt
Optional
- 1/2 cup white chocolate chips (optional, mixed in batter or melted and drizzled on top)
Instructions
- Preheat oven and prepare pan: Preheat your oven to 350°F (175°C) and line an 8×8 inch baking pan with parchment paper for easy removal and cleanup.
- Melt butter and chocolate: In a large microwave-safe mixing bowl, melt the unsalted butter and chopped semi-sweet chocolate together in 30-second increments, stirring between each until fully melted and smooth.
- Mix wet ingredients: Add granulated sugar to the melted butter and chocolate, mixing until combined. Then, beat in the eggs one at a time, ensuring each is fully incorporated. Stir in vanilla extract, white vinegar, and red gel food coloring to infuse flavor and vibrant color.
- Combine dry ingredients: In a separate bowl, sift together the unsweetened cocoa powder, all-purpose flour, and salt to remove lumps and evenly distribute ingredients.
- Mix wet and dry ingredients: Gradually fold the dry ingredient mixture into the wet ingredients, mixing gently until just combined to prevent overmixing, which can cause dense brownies. If desired, fold in white chocolate chips to add bursts of sweetness.
- Pour and spread batter: Transfer the batter to the prepared baking pan, spreading it evenly using a spatula to ensure uniform baking.
- Bake brownies: Bake in the preheated oven for 30-35 minutes or until a toothpick inserted in the center comes out with a few moist crumbs but no wet batter, indicating fudgy texture.
- Cool and serve: Allow the brownies to cool completely in the pan on a wire rack. Optionally, melt white chocolate and drizzle over the cooled brownies for an extra decorative and flavorful finishing touch. Slice into squares and enjoy!
Notes
- Do not overmix the batter to keep the brownies tender and fudgy.
- Use gel food coloring for vibrant color without altering batter consistency.
- White chocolate chips can be mixed in or melted for drizzling as preferred.
- Ensure brownies cool completely before slicing to maintain clean edges.
- Store leftovers in an airtight container at room temperature for up to 3 days.
Keywords: Red Velvet Brownies, fudgy brownies, chocolate dessert, red velvet dessert, homemade brownies