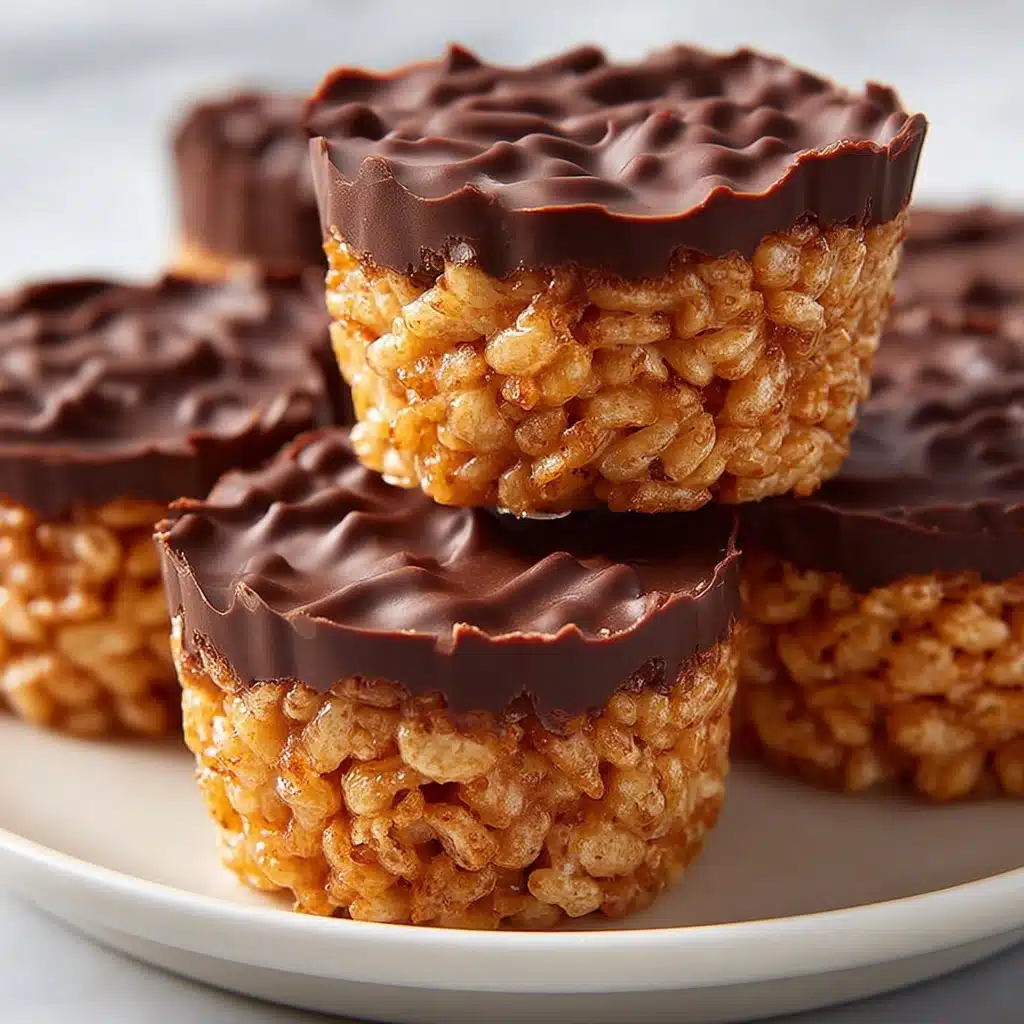
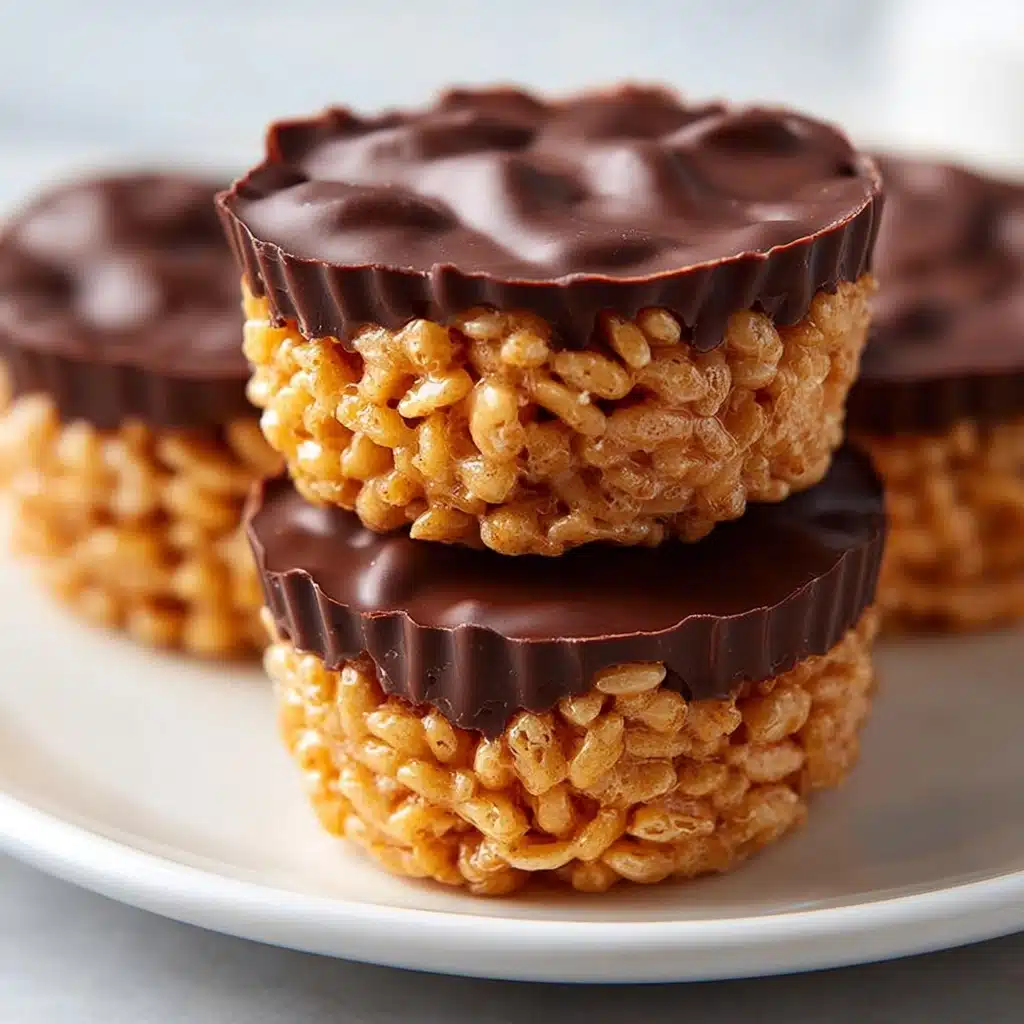
Chocolate Peanut Butter Rice Krispie Cups Recipe
If you’re craving a quick, no-bake treat that delivers a punch of nostalgic flavor along with a satisfyingly chewy-crisp bite, Chocolate Peanut Butter Rice Krispie Cups are an absolute must-make. These delightful little cups combine the classic crunch of Rice Krispies with a lusciously creamy peanut butter base and a silky chocolate topping — basically, it’s your childhood favorite, all dressed up in bite-sized form. Each layer brings its own magic, and the finished product tastes like pure happiness in a cup. They’re easy enough for a weeknight but impressive enough for parties, too. If you love the combination of peanut butter and chocolate (really, who doesn’t?), prepare to be obsessed.
Ingredients You’ll Need
Don’t you just love when a recipe calls for ingredients you probably already have on hand? Every item here is simple, but together they create a dessert that’s fun and full of flavor. Each element pulls its weight, offering texture, richness, or that irresistible chocolaty finishing touch.
- Rice Krispies cereal: The essential crunch! Rice Krispies form the sturdy, crackly foundation that makes these cups so addictive.
- Creamy peanut butter: For that rich, nutty flavor and luscious chew, creamy peanut butter is non-negotiable here.
- Unsalted butter: Adds depth and smoothness, helping everything set up perfectly.
- Mini marshmallows: Melting these in with the butter creates that nostalgic, gooey base that binds everything together and keeps it soft.
- Chocolate chips: The chocolatey top layer that turns these treats into pure decadence; use good-quality chips for best results.
- Vanilla extract (optional): Just a dash heightens flavors and brings out the best in the peanut butter.
- Pinch of sea salt (optional): A sprinkling of flaky salt on top intensifies the sweet-salty contrast—highly recommended!
How to Make Chocolate Peanut Butter Rice Krispie Cups
Step 1: Melt the Base
Start by setting your saucepan over low heat, which ensures a gentle, even melt. Toss in the butter and allow it to melt before adding the mini marshmallows. Stir constantly—think of it like a hug for your marshmallows—to prevent any scorching. As soon as the mixture turns smooth and glossy with no lumps, you’re ready for the next step.
Step 2: Add Peanut Butter
With the heat still on low, add in the creamy peanut butter (and vanilla extract, if you’re using it). Stir until it’s fully blended and velvety. The two merge into a rich, sweet-salty mixture that smells downright irresistible at this point!
Step 3: Mix with Cereal
Pour your Rice Krispies into a large mixing bowl (the bigger, the better). Scrape that luscious peanut butter-marshmallow concoction over the cereal and gently fold it all together. Make sure every last crispy piece is coated—this is what gives the cups their signature bite.
Step 4: Shape the Cups
Line a standard muffin tin with paper liners. Scoop the mixture evenly into each one—aim for about two-thirds full. Press down gently with the back of a spoon or your fingertips to create a flat, even surface. This step helps everything hold together and gives your Chocolate Peanut Butter Rice Krispie Cups that signature look.
Step 5: Add Chocolate Layer
Melt your chocolate chips in the microwave, heating in 20-second bursts and stirring between each until silky and pourable. Spoon a generous layer over each cup and spread it to the edges. If you like, sprinkle a little sea salt on top for that artisan finish!
Step 6: Set & Serve
Let the cups cool at room temperature for at least 20 minutes, or move them into the refrigerator if you’re impatient (which, honestly, is understandable). Once the chocolate sets and the cups are firm, peel off the paper liners and enjoy!
How to Serve Chocolate Peanut Butter Rice Krispie Cups
Garnishes
For a visual and flavor boost, you can sprinkle a pinch of flaky sea salt right over the melted chocolate before it sets. Or, press a single mini peanut butter cup or a few chopped peanuts on top. The touch of salt offsets the sweetness and adds a contemporary, bakery-style finish.
Side Dishes
While the Chocolate Peanut Butter Rice Krispie Cups are stars on their own, they make a perfect addition to a dessert platter alongside fresh strawberries, sliced bananas, or even a scoop of vanilla ice cream. For adults, try pairing them with a strong cup of coffee or an ice-cold glass of milk for the ultimate nostalgic treat.
Creative Ways to Present
If you really want to show off, arrange the cups in mini cupcake wrappers on a tiered dessert stand. You could also layer a few in a mason jar and tie with a ribbon for a thoughtful edible gift. For parties, let guests drizzle their own melted chocolate on top and add sprinkles or crushed candies for a fun activity and a personalized treat.
Make Ahead and Storage
Storing Leftovers
Once the cups are fully set, transfer them to an airtight container. They’ll stay delightfully chewy and crunchy at room temperature for up to 4 days—perfect for grabbing on the go or tucking into a lunchbox.
Freezing
Good news: Chocolate Peanut Butter Rice Krispie Cups freeze beautifully! Just layer them between sheets of wax paper in a freezer-safe container. They’ll keep their texture and flavor for up to 2 months. Simply thaw at room temperature for about 15 minutes before serving.
Reheating
These treats truly don’t need reheating, but if you like a slightly gooey texture, you can microwave a cup for about 8–10 seconds. This softens the chocolate just enough to make it extra decadent—just be sure not to overdo it, or you’ll lose that signature crunch.
FAQs
Can I use natural peanut butter instead of regular?
Yes, you can use natural peanut butter, but since it tends to be runnier, you may need to stir it thoroughly first and the cups might be a bit softer. Look for a brand without lots of added oil for the best structure.
Can I use other cereals instead of Rice Krispies?
Absolutely! While Rice Krispies are classic, feel free to swap in crisped rice cereal alternatives or even experiment with cornflakes or Chex for a different crunch and flavor.
Can I make these dairy-free or vegan?
Yes, simply substitute dairy-free butter and vegan chocolate chips, and use a plant-based marshmallow option if needed. Chocolate Peanut Butter Rice Krispie Cups are very adaptable to dietary needs!
Why aren’t my cups sticking together well?
This can happen if the mixture cools down too much before shaping, or if you use less binding ingredients by accident. Always press the mixture firmly into the cups while it’s still warm for the best results.
How do I make the chocolate extra shiny on top?
If you want that beautiful glossy sheen, stir a tiny pat of butter or a dash of coconut oil into your melted chocolate chips before topping the cups. It adds a touch of shine and makes the chocolate layer even smoother.
Final Thoughts
If you’ve got a soft spot for sweet, salty, and crunchy treats, these Chocolate Peanut Butter Rice Krispie Cups just might become your new go-to dessert. They’re so easy to make, endlessly adaptable, and guaranteed to lift anyone’s spirits with just one bite. Whip up a batch soon—you’ll be amazed by how quickly they disappear!
PrintChocolate Peanut Butter Rice Krispie Cups Recipe

These Chocolate Peanut Butter Rice Krispie Cups are a delightful treat that combines the rich flavors of chocolate and peanut butter with the crunch of Rice Krispies. Easy to make and perfect for any occasion!
- Prep Time: 10 minutes
- Cook Time: 10 minutes
- Total Time: 30 minutes
- Yield: 12 cups 1x
- Category: Dessert
- Method: Stovetop, Refrigerate
- Cuisine: American
- Diet: Vegetarian
Ingredients
Rice Krispie Base:
- 3 cups Rice Krispies cereal
Peanut Butter Mixture:
- 1 cup creamy peanut butter
- 1/2 cup unsalted butter
- 1 cup mini marshmallows
- 1/2 tsp vanilla extract (optional)
- Pinch of sea salt (optional)
Chocolate Layer:
- 1 cup chocolate chips
Instructions
- Melt the Base: In a medium saucepan over low heat, melt butter and marshmallows while stirring consistently until smooth.
- Add Peanut Butter: Stir in peanut butter and vanilla extract (if using) until fully combined and creamy.
- Mix with Cereal: Pour the Rice Krispies into a large bowl and add the peanut butter mixture. Gently fold until all the cereal is coated evenly.
- Shape the Cups: Line a muffin tin with paper liners. Spoon the mixture evenly into each cup and press down gently to form a flat surface.
- Add Chocolate Layer: Melt chocolate chips in the microwave (20-second intervals, stirring in between). Spoon melted chocolate over each cup and spread evenly. Sprinkle with sea salt if desired.
- Set & Serve: Allow the cups to cool at room temperature for 20 minutes or place them in the refrigerator to set faster. Once firm, remove the paper liners and serve!
Nutrition
- Serving Size: 1 cup
- Calories: 280
- Sugar: 15g
- Sodium: 170mg
- Fat: 18g
- Saturated Fat: 8g
- Unsaturated Fat: 7g
- Trans Fat: 0g
- Carbohydrates: 25g
- Fiber: 2g
- Protein: 6g
- Cholesterol: 15mg
Keywords: Chocolate Peanut Butter Rice Krispie Cups, Dessert, Rice Krispies, Peanut Butter, Chocolate