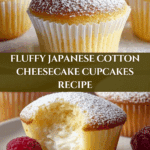
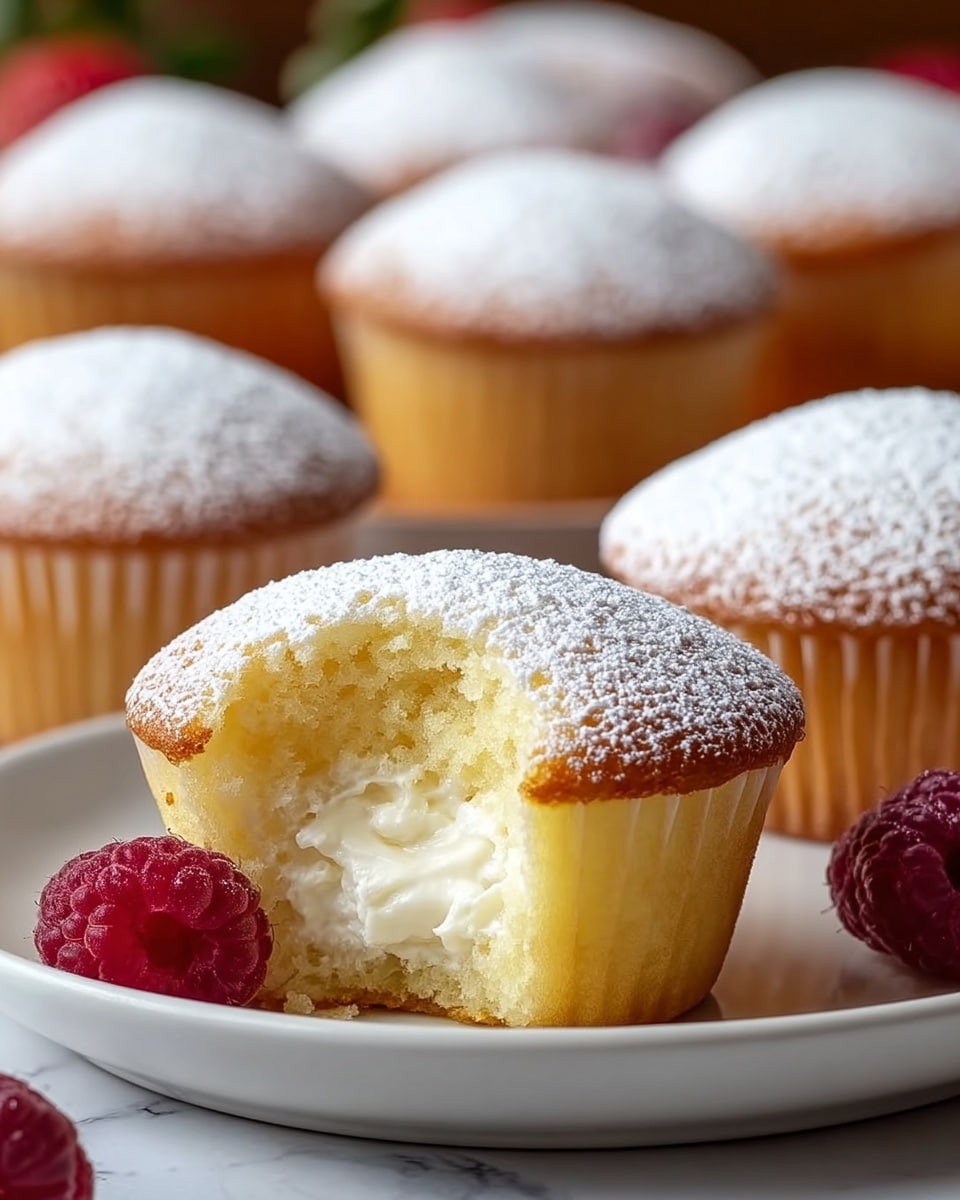
Fluffy Japanese Cotton Cheesecake Cupcakes Recipe
Fluffy Japanese Cotton Cheesecake Cupcakes are delightfully light and airy, with a delicate sweetness that melts in your mouth. These individual treats combine the rich creaminess of cheesecake with the soft texture of sponge cake, making them perfect for any occasion.
Ingredients
- 8 oz (225 g) cream cheese, softened
- 1/4 cup (60 g) unsalted butter, softened
- 1/2 cup (120 ml) whole milk
- 1/2 cup (100 g) granulated sugar
- 4 large eggs, separated
- 1 tablespoon lemon juice (optional)
- 1/2 cup (60 g) all-purpose flour
- 1/4 cup (30 g) cornstarch
- 1/4 teaspoon salt
- 1 teaspoon vanilla extract
- Powdered sugar, for dusting (optional)
Instructions
- Step 1: Preheat your oven to 320°F (160°C) and line a 12-cup muffin tin with cupcake liners.
- Step 2: In a medium saucepan, combine the cream cheese, butter, and milk. Heat on low while stirring until the mixture is smooth. Remove from heat and let it cool to room temperature.
- Step 3: In a bowl, whisk together the flour, cornstarch, and salt.
- Step 4: In a large mixing bowl, whisk the egg yolks, sugar, and lemon juice (if using) until pale and creamy. Add the cooled cream cheese mixture and vanilla extract, then mix until combined.
- Step 5: Sift the dry ingredients into the wet mixture and gently stir until smooth.
- Step 6: In a clean bowl, beat the egg whites until soft peaks form. Gradually add 2 tablespoons of sugar while continuing to beat until stiff peaks form.
- Step 7: Fold one-third of the beaten egg whites into the batter to lighten it. Gently fold in the remaining egg whites until fully incorporated, being careful not to deflate the mixture.
- Step 8: Pour the batter into the cupcake liners, filling each about three-quarters full. Tap the pan lightly to remove any air bubbles.
- Step 9: Bake for 20–25 minutes, or until the tops are golden brown and slightly puffed.
- Step 10: Let the cupcakes cool in the pan for 5 minutes, then transfer them to a wire rack to cool completely.
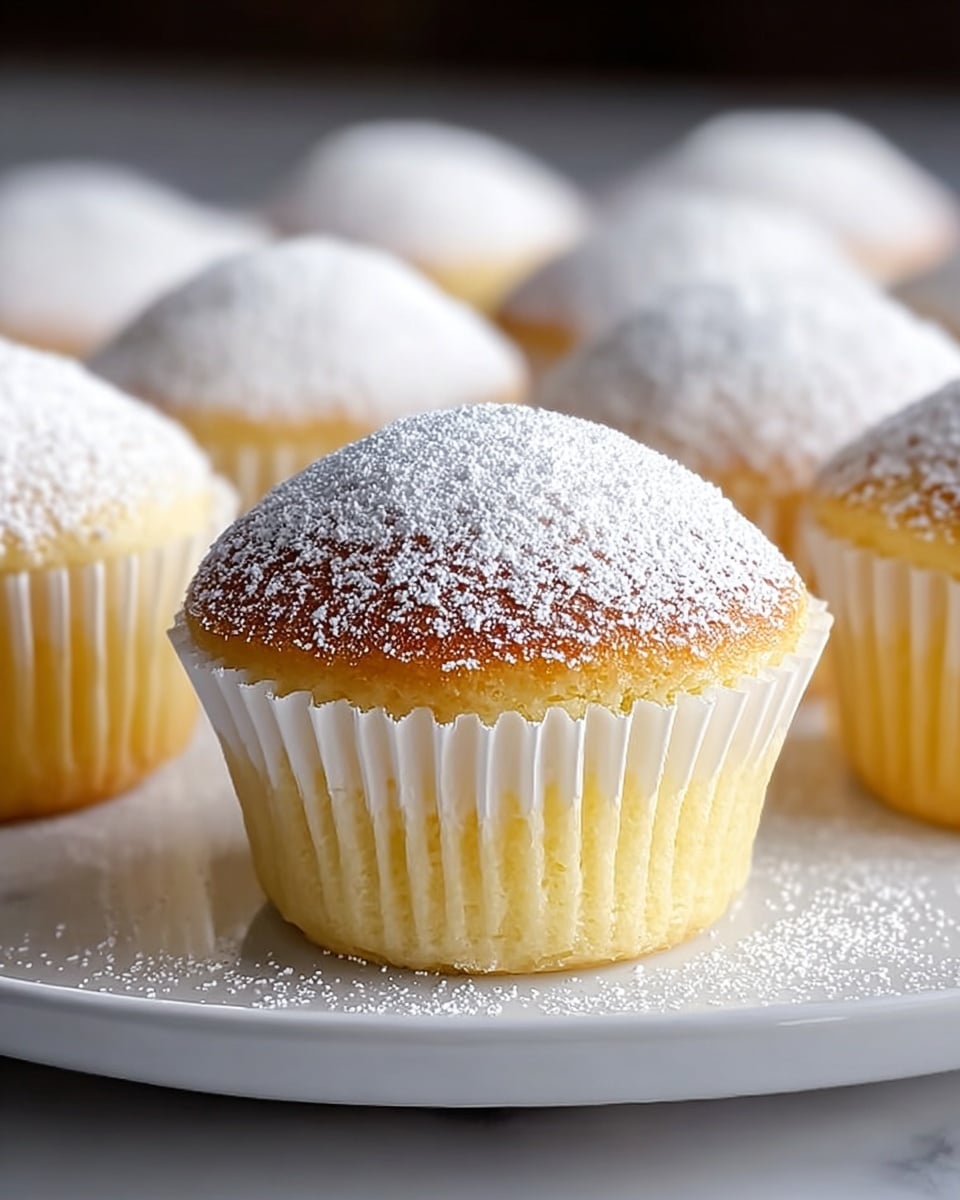
- Step 11: Dust with powdered sugar before serving, if desired.
Tips & Variations
- For extra stability, make sure your egg whites are beaten to stiff peaks before folding.
- Add a teaspoon of matcha powder to the dry ingredients for a green tea flavor twist.
- Use lemon juice to brighten the flavor, but it can be omitted if you prefer a milder taste.
- Serve chilled or at room temperature for the best texture and flavor.
Storage
Store the cupcakes in an airtight container in the refrigerator for up to 3 days. Before serving, allow them to come to room temperature or warm slightly in the microwave for about 10 seconds. These cupcakes are best enjoyed fresh but can be frozen for up to one month; thaw overnight in the refrigerator before serving.
How to Serve
Serve this delicious recipe with your favorite sides.
FAQs
Can I make these cupcakes gluten-free?
Yes, you can substitute the all-purpose flour with a gluten-free flour blend. Make sure the blend contains a binding agent like xanthan gum for the best texture.
Why are the egg whites folded in gently?
Folding in the egg whites gently keeps the batter light and airy, which ensures the cupcakes have that signature fluffy, cotton-like texture.
PrintFluffy Japanese Cotton Cheesecake Cupcakes Recipe

These Fluffy Japanese Cotton Cheesecake Cupcakes are light, airy, and irresistibly soft, combining the creamy richness of cheesecake with the delicate texture of a soufflé. Perfect for a delightful dessert or an elegant treat, these cupcakes are baked to golden perfection and dusted with powdered sugar for a classy finish.
- Prep Time: 15 minutes
- Cook Time: 25 minutes
- Total Time: 40 minutes
- Yield: 12 cupcakes 1x
- Category: Dessert
- Method: Baking
- Cuisine: Japanese
- Diet: Vegetarian
Ingredients
Cheesecake Base
- 8 oz (225 g) cream cheese, softened
- 1/4 cup (60 g) unsalted butter, softened
- 1/2 cup (120 ml) whole milk
Dry Ingredients
- 1/2 cup (60 g) all-purpose flour
- 1/4 cup (30 g) cornstarch
- 1/4 teaspoon salt
Egg Mixture
- 4 large eggs, separated
- 1/2 cup (100 g) granulated sugar
- 1 tablespoon lemon juice (optional)
- 1 teaspoon vanilla extract
Finishing
- Powdered sugar, for dusting (optional)
Instructions
- Preheat and Prepare: Preheat your oven to 320°F (160°C). Line a 12-cup muffin tin with cupcake liners to prevent sticking and for easy removal.
- Make the Cheese Mixture: In a medium saucepan over low heat, combine the softened cream cheese, unsalted butter, and whole milk. Stir continuously until the mixture becomes smooth and fully combined. Remove from heat and allow it to cool to room temperature.
- Mix Dry Ingredients: In a separate bowl, whisk together the all-purpose flour, cornstarch, and salt until evenly incorporated.
- Combine Egg Yolks and Sugar: In a large mixing bowl, whisk the egg yolks, granulated sugar, and lemon juice (if using) until the mixture turns pale and slightly thickened. This will help create lightness in the batter. Then add the cooled cheese mixture and vanilla extract, mixing until smooth.
- Add Dry Ingredients: Sift the dry flour mixture into the wet ingredients. Gently stir just until no lumps remain, being careful not to overmix to maintain the batter’s light texture.
- Whip Egg Whites: In a clean bowl, beat the egg whites until soft peaks form. Gradually add 2 tablespoons of sugar and continue beating until stiff, glossy peaks form. This step is crucial for giving the cupcakes their fluffy texture.
- Fold in Egg Whites: Fold one-third of the beaten egg whites into the batter gently to lighten it. Then carefully fold in the remaining egg whites until the batter is fully combined and smooth, avoiding deflating the mixture.
- Fill and Tap: Pour the batter into the prepared cupcake liners, filling each about three-quarters full. Tap the muffin tin lightly on the counter to release any air bubbles trapped in the batter.
- Bake: Bake the cupcakes in the preheated oven for 20 to 25 minutes, or until they are golden brown on top and slightly puffed. A toothpick inserted in the center should come out clean.
- Cool and Serve: Allow the cupcakes to cool in the muffin pan for 5 minutes before transferring them to a wire rack to cool completely. Dust with powdered sugar before serving if desired.
Notes
- For best results, make sure the cream cheese and butter are fully softened before beginning.
- If you like a slightly tangy flavor, the lemon juice adds a pleasant brightness but can be omitted.
- Be gentle when folding in egg whites to keep the batter airy and fluffy.
- Use fresh eggs at room temperature for better volume in the meringue.
- These cupcakes are best enjoyed the same day but can be refrigerated in an airtight container for up to 2 days.
- Ensure the oven temperature is stable and avoid opening the door frequently during baking to prevent deflation.
Keywords: Japanese cheesecake cupcakes, fluffy cheesecake, cotton cheesecake, Japanese dessert, soft cheesecake cupcakes, souffle cheesecake, light cheesecake, baked cheesecake dessert