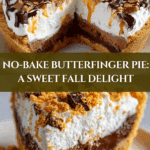
Butterfinger Pie Recipe
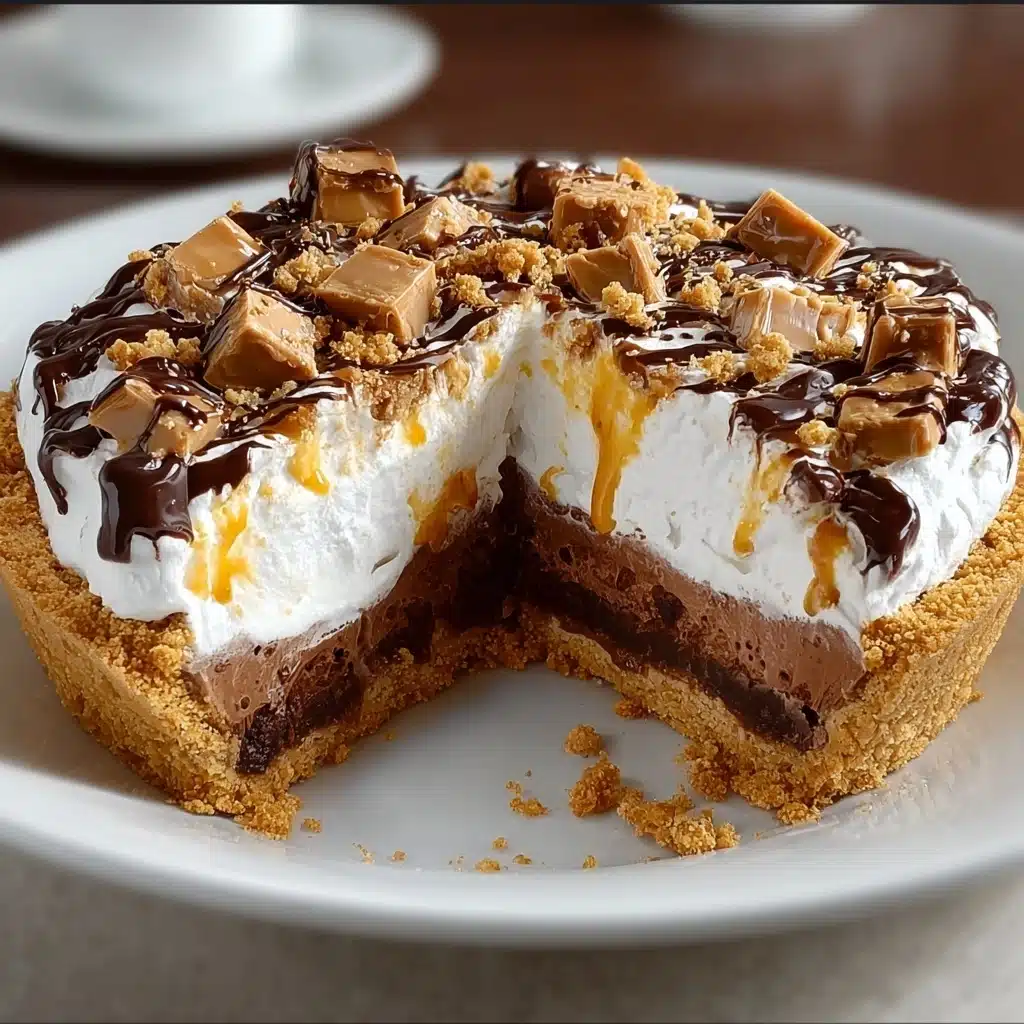
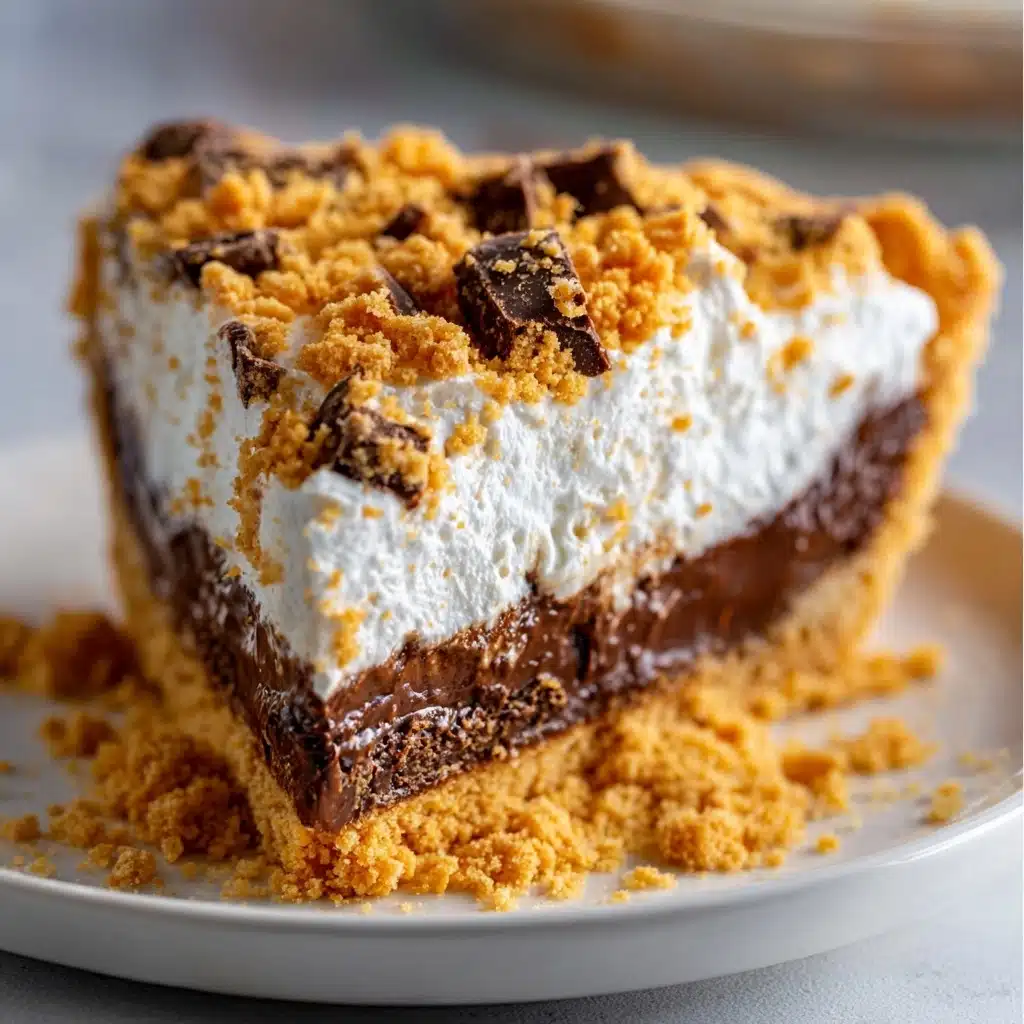
If you’ve never experienced the pure joy that is Butterfinger Pie, you’re in for a treat! This dessert is an absolute showstopper—creamy, dreamy peanut butter filling meets crunchy bits of Butterfinger, all cradled in a sweet, buttery graham cracker crust. It’s a nostalgic, flavor-packed pie that’s blissfully easy to whip up, and every bite delivers the perfect balance of sweet, salty, and crispy. Butterfinger Pie is a family favorite that vanishes at every gathering, and once you taste it, you’ll understand why it steals the show.
Ingredients You’ll Need
Butterfinger Pie is famous for its simplicity, and each ingredient serves a delicious purpose. Together, they create that signature cloud-like texture with irresistible chocolate-peanut butter crunch. Here’s what you’ll need and why:
- Cream Cheese: Softened cream cheese is the creamy backbone of your filling, giving rich flavor and tangy smoothness.
- Whipped Topping: This brings airy lightness and makes the pie filling melt-in-your-mouth soft. Be sure to use it thawed for easy folding!
- Powdered Sugar: Adds sweetness while keeping the filling velvety without any graininess.
- Creamy Peanut Butter: The peanut butter layer brings nutty richness and classic flavor—select a smooth, salted version for best results.
- Butterfinger Candy Bars: Star of the show! Crunchy, peanut-buttery bits folded in and scattered on top give every slice that essential Butterfinger flair.
- Graham Cracker Crust: A tender, ready-to-use base that’s delightfully sweet and slightly crunchy—a must for quick assembly.
- Vanilla Extract: Just a splash rounds everything out and intensifies those luscious dessert flavors.
How to Make Butterfinger Pie
Step 1: Cream the Base
Begin by beating the softened cream cheese and powdered sugar together in a large mixing bowl. You want this mixture to be completely smooth and creamy, with no lumps—let your mixer do the work until it looks like soft frosting. This step lays down that ultra-creamy texture that Butterfinger Pie is known for.
Step 2: Add Peanut Butter and Vanilla
Next, blend in the creamy peanut butter and vanilla extract. As you mix, watch the filling transform—it should become silkier, richer, and perfectly unified in both taste and texture. Scrape down the sides of the bowl to make sure everything gets evenly incorporated.
Step 3: Fold in the Whipped Topping
Now it’s time for the magic ingredient: the whipped topping. Gently fold it in with a spatula, turning your bowl as you go. Take care not to overmix—those fluffy peaks are what make Butterfinger Pie so light and dreamy.
Step 4: Stir in Butterfinger Bits
Add in two of your crushed Butterfinger candy bars, leaving the final bar for a crowning crunch later. Stir just until the pieces are evenly dispersed throughout the luscious filling. Every bite should have a little burst of Butterfinger bliss!
Step 5: Assemble the Pie
Spoon all of that creamy filling into your pre-made graham cracker crust. Use a spatula to spread and smooth the top. A tidy, level surface not only looks great but gives you a base for maximum Butterfinger topping coverage.
Step 6: Top with More Butterfinger Crunch
Take the last of your crushed Butterfinger bars and sprinkle them generously over the top of your pie. Gently press down to embed the candy pieces just a bit—this keeps them in place and creates a gorgeously textured finish.
Step 7: Chill Until Set
Cover your pie loosely and refrigerate it for at least 4 hours, though overnight is ideal. This gives the filling time to set to sliceable, creamy perfection and allows all those flavors to meld together beautifully.
Step 8: Slice and Savor!
When ready to serve, cut generous slices right from the fridge and watch the Butterfinger Pie disappear! Its cool, creamy texture with crunchy candy bits is irresistible from the very first bite.
How to Serve Butterfinger Pie
Garnishes
To make each slice absolute perfection, a few thoughtful garnishes go a long way. Whipped cream swirls, extra Butterfinger crumbs, or a drizzle of chocolate or caramel sauce transform your Butterfinger Pie from simple to spectacular. Those little touches make your presentation extra-special—go ahead, be generous!
Side Dishes
Butterfinger Pie is the shining star at any dessert table, but if you want a little something on the side, try pairing it with fresh berries, a scoop of vanilla ice cream, or a tall glass of cold milk. These accompaniments balance the pie’s sweetness and create a well-rounded dessert spread.
Creative Ways to Present
If you love thinking outside the box, try making individual Butterfinger Pie parfaits in small jars or serving up bite-size squares for a finger-food dessert party. Mini tart shells or even layered desserts in clear cups look beautiful and make this pie perfect for any occasion—from potlucks to birthday celebrations.
Make Ahead and Storage
Storing Leftovers
Butterfinger Pie stores wonderfully in the fridge. Simply cover the pie pan tightly with plastic wrap or foil to keep it fresh. It will hold up perfectly for 2 to 3 days—and rumor has it, the slices taste even dreamier on day two as the flavors meld further.
Freezing
For long-term storage, you can freeze Butterfinger Pie! Place slices or the whole pie (well wrapped in plastic and foil) in the freezer. Thaw overnight in the refrigerator before serving—the texture remains creamy, and those Butterfinger bits keep their signature crunch.
Reheating
Butterfinger Pie is meant to be enjoyed chilled, so skip reheating. If your pie has been in the freezer, just let it thaw fully in the fridge before slicing and serving. The cool, creamy consistency is exactly what makes this dessert so irresistible.
FAQs
Can I use homemade whipped cream instead of prepared whipped topping?
Absolutely! If you prefer homemade whipped cream, simply whip 1 cup of cold heavy cream with a few tablespoons of powdered sugar until stiff peaks form, then fold it into your filling. It works beautifully and gives a slightly richer flavor.
Can Butterfinger Pie be made gluten-free?
Yes, you can make a gluten-free version by using a gluten-free graham cracker crust and checking that your other ingredients are certified gluten-free. The end result is just as creamy and delicious!
What’s the best way to crush Butterfinger bars?
For easy crushing, place the Butterfinger bars in a sturdy zip-top bag and gently pound them with a rolling pin or mallet. You want small, crunchy pieces—not a fine powder—so you get plenty of texture in every bite.
How far ahead can I make Butterfinger Pie?
This pie is perfect for making in advance. It needs at least 4 hours to chill, but it’s even better when allowed to set overnight. Just keep it well-covered in the refrigerator until you’re ready to serve.
Can I use another candy bar if I don’t have Butterfingers?
The unique flavor and crunch of Butterfingers are what make this pie special, but you can certainly experiment! Try substituting with toffee bits, crushed peanut butter cups, or even crispy chocolate bars for a fun twist.
Final Thoughts
If you’re searching for a dessert that guarantees big smiles and empty plates, Butterfinger Pie is it. There’s something downright magical about that creamy, peanut-buttery filling paired with the candy crunch and graham cracker crust. Don’t wait—gather your ingredients, whip up this pie, and watch it become a new favorite in no time!
PrintButterfinger Pie Recipe
Indulge in the creamy, dreamy, and delightful Butterfinger Pie! This no-bake dessert is a perfect blend of silky cream cheese, fluffy whipped topping, and crunchy Butterfinger candy bars all nestled in a graham cracker crust. A truly irresistible treat for any occasion.
- Prep Time: 20 minutes
- Cook Time: 0 minutes
- Total Time: 4 hours 20 minutes
- Yield: 1 pie 1x
- Category: Dessert
- Method: No-Bake
- Cuisine: American
- Diet: Vegetarian
Ingredients
Cream Cheese Filling:
- 1 package Cream Cheese, softened (8 oz package)
- 1 container Whipped Topping (8 oz container like Cool Whip)
- 1 cup Powdered Sugar
- 1/2 cup Creamy Peanut Butter
Crust and Topping:
- 3 bars Butterfinger Candy Bars, crushed (divided use)
- 1 pre-made Graham Cracker Crust
- 1/2 teaspoon Vanilla Extract
Instructions
- Cream Cheese Filling: In a large mixing bowl, beat the softened cream cheese and powdered sugar until smooth and creamy.
- Add peanut butter and vanilla; mix until combined.
- Gently fold in whipped topping.
- Stir in two crushed Butterfinger bars.
- Spread mixture into crust.
- Top with remaining crushed Butterfinger bars.
- Refrigerate for at least 4 hours.
- Serve and enjoy!
Notes
- You can drizzle chocolate syrup over the top for an extra chocolatey touch.
- Feel free to use a chocolate cookie crust for a different flavor profile.
- For a nutty twist, try using crunchy peanut butter.
Nutrition
- Serving Size: 1 slice
- Calories: 380
- Sugar: 28g
- Sodium: 250mg
- Fat: 24g
- Saturated Fat: 11g
- Unsaturated Fat: 11g
- Trans Fat: 0g
- Carbohydrates: 35g
- Fiber: 1g
- Protein: 5g
- Cholesterol: 40mg
Keywords: Butterfinger Pie, No-Bake Dessert, Cream Cheese Pie