No-Bake Oreo Cheesecake Cups Recipe
If you’re craving an easy, decadent dessert that comes together in minutes, No-Bake Oreo Cheesecake Cups are about to be your new obsession. These irresistible cups combine fluffy, creamy cheesecake filling with crumbled Oreos, all layered into individual servings for the ultimate grab-and-go treat. You’ll love how there’s no oven required and how each bite delivers the perfect balance of rich cheesecake and chocolatey cookie crunch. Whether you’re hosting a party or just want a sweet fix on the couch, these No-Bake Oreo Cheesecake Cups are pure joy in a glass!
Ingredients You’ll Need
Simplicity is the beauty of this recipe—every ingredient has an important role, from the tangy cream cheese base to the iconic Oreo cookie crunch. You’ll find that nothing fancy is needed, yet each element brings out that truly classic cookies-and-cream flavor we all adore.
- Oreo cookies: The star of the show; they provide the crumbly base and classic chocolate crunch throughout each cup.
- Cream cheese (softened): This gives the cheesecake its signature richness and creamy texture; make sure it’s at room temperature for easy mixing.
- Cool Whip: Lightens the filling, making it airy and silky-smooth, and cuts through the richness.
- Powdered sugar: Sweetens things up just right and blends seamlessly into the creamy base.
- Whipped cream: Perfect as a finishing flourish, offering an extra layer of lightness and appeal on top.
How to Make No-Bake Oreo Cheesecake Cups
Step 1: Crush the Oreos
Start by placing your Oreo cookies in a ziptop bag and sealing it tightly. Grab a rolling pin and get rolling—the goal is to break down the cookies into coarse crumbs. You don’t need them powder-fine, just crushed enough for the base and filling. Crushing Oreos is oddly satisfying and sets the stage for those deliciously crunchy layers!
Step 2: Create the Cookie Base
Spoon about 1½ to 2 tablespoons of your crushed Oreos into each of your six serving glasses or jars. Press the crumbs down gently to form a sturdy, chocolatey base. You can use the back of a spoon or even your fingertips. This bottom layer will soak up a bit of the cheesecake filling later on—pure bliss!
Step 3: Whip the Cheesecake Mixture
Using a hand mixer or a stand mixer, beat the softened cream cheese and powdered sugar together. Blend on medium speed until the mixture is smooth, creamy, and free of lumps. This step is key—you want that dreamy, melt-in-your-mouth texture that makes No-Bake Oreo Cheesecake Cups unforgettable.
Step 4: Fold in the Cool Whip
Add the Cool Whip to your cream cheese mixture and gently fold it in with a spatula. The goal here is to combine until it’s all silky-smooth, light, and fluffy—be careful not to overmix, as you want to keep all that lovely airiness intact.
Step 5: Add More Oreo Crunch
Take those remaining crushed Oreos and fold them right into your cheesecake mixture. This is where the magic happens! Each spoonful will get speckled with chocolate cookie bits, giving a beautiful contrast to the creamy filling.
Step 6: Layer and Chill
Evenly divide the cheesecake mixture among your glasses, spooning it gently over the Oreo bases. Press down just enough so there are no air pockets, but don’t compact it too firmly—you want it light as a cloud. Once filled, pop your No-Bake Oreo Cheesecake Cups into the fridge for about an hour (or until you’re ready to serve). This gives them time to firm up to the perfect scoopable consistency.
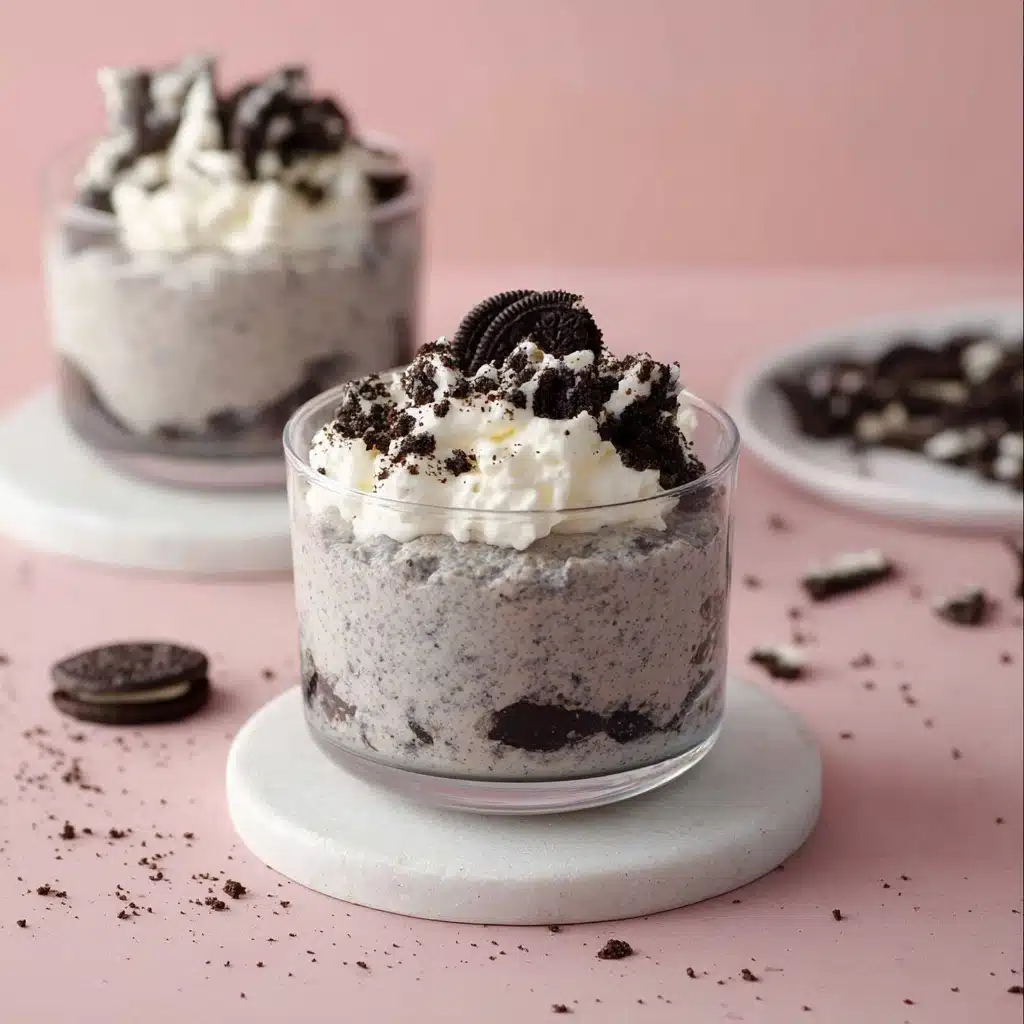
Step 7: Top and Serve
When it’s time to eat, pile on a swirl of whipped cream or an extra dollop of Cool Whip, then finish each cup with a generous sprinkle of more crushed Oreos. You’re now ready to dig in—no forks required, just a spoon and a big smile!
How to Serve No-Bake Oreo Cheesecake Cups
Garnishes
The magic of these cheesecake cups is all in the final flourish! Top each one with a puff of whipped cream or extra Cool Whip, and shower more Oreo crumbs over the top. For a showstopping finish, you can even stand a whole mini Oreo or half a cookie upright in the cream. Play with fun toppings like chocolate shavings or sprinkles for extra pizzazz.
Side Dishes
No-Bake Oreo Cheesecake Cups are indulgent all on their own, but if you want to serve them with something fresh, pair with sliced strawberries, raspberries, or a fruit salad on the side. The tartness of fruit brightens up those rich flavors, and the pop of color looks beautiful on dessert plates.
Creative Ways to Present
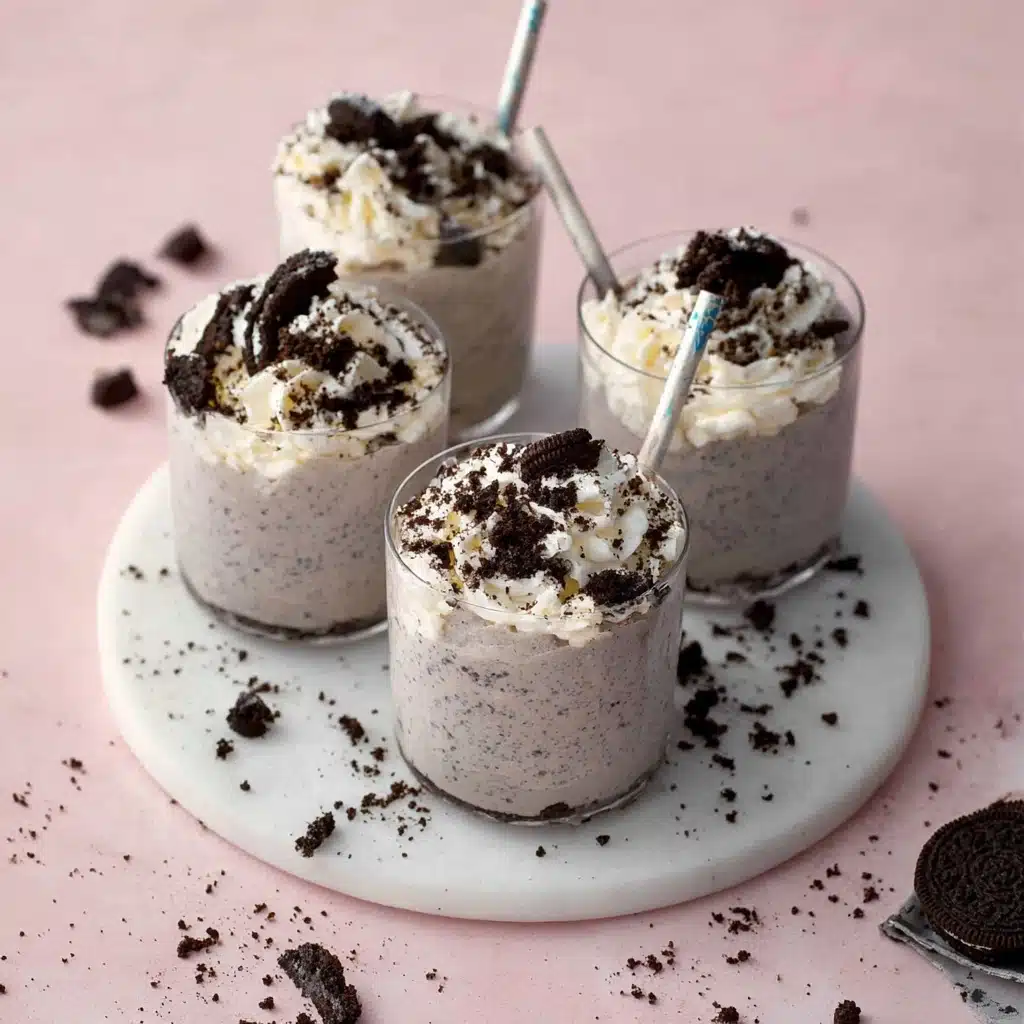
Serve these cups in elegant mini glass jars for dinner parties, or rustic mason jars for a more laid-back gathering. For a picnic or kids’ party, use clear disposable cups. You can also layer them parfait-style with extra Oreos and cream for a fun visual twist. Personalizing labels or ribbons around the jars adds a thoughtful touch, making your No-Bake Oreo Cheesecake Cups the talk of any event!
Make Ahead and Storage
Storing Leftovers
If you’re lucky enough to have leftover No-Bake Oreo Cheesecake Cups, simply cover each cup tightly with plastic wrap or a lid. Store them in the refrigerator, where they’ll happily stay creamy and delicious for up to three days. The flavor just gets deeper as they chill!
Freezing
Want to make these in advance? You can absolutely freeze No-Bake Oreo Cheesecake Cups. Wrap each one tightly to prevent freezer burn, and store for up to one month. When you’re ready to indulge, let them thaw in the fridge overnight. They taste almost like an Oreo cheesecake ice cream—what a treat!
Reheating
Luckily, there’s no reheating needed for this dessert! If your cheesecake cups have been frozen, just allow them to thaw in the refrigerator until they return to their creamy, dreamy consistency, and they’re ready to enjoy.
FAQs
Can I use homemade whipped cream instead of Cool Whip?
Absolutely! Homemade whipped cream can easily be substituted for Cool Whip. Just beat cold heavy cream with a touch of powdered sugar until you have stiff peaks, then fold it in as you would with Cool Whip. The result is even richer and more luscious—just keep in mind homemade cream may not hold up quite as long if making ahead.
Do No-Bake Oreo Cheesecake Cups set without gelatin?
Yes, they set beautifully thanks to the texture of the cream cheese and the stabilizing power of Cool Whip or whipped cream. The cups will firm up in the fridge and hold their lovely, spoonable shape, no gelatin required.
Can I use gluten-free Oreos for this recipe?
Definitely! Gluten-free Oreo-style cookies work perfectly in this recipe and keep the texture and flavor just as wonderful. This makes No-Bake Oreo Cheesecake Cups a favorite for gluten-sensitive friends and family, too!
What type of glass or cup works best?
Anything clear and individual-sized will show off those beautiful layers. Try small mason jars, glass tumblers, stemless wine glasses, or even little parfait cups. You can adjust portion sizes to suit any occasion, whether you want mini bites or extra-large indulgences.
Can I add other mix-ins to the filling?
Of course! Feel free to get creative. Stir in mini chocolate chips, chunks of white chocolate, or even a swirl of peanut butter for added decadence. The base recipe is so forgiving, it makes the perfect playground for your favorite extra flavors.
Final Thoughts
If you’re searching for the ultimate easy dessert, look no further than these No-Bake Oreo Cheesecake Cups. Seriously, they’re as fun to make as they are to eat! With minimal ingredients and maximum wow-factor, I can’t recommend them enough. Gather your cookies, whip up the creamy filling, and treat yourself to a moment of pure cookies-and-cream bliss tonight—you deserve it!
PrintNo-Bake Oreo Cheesecake Cups Recipe
These No-Bake Oreo Cheesecake Cups are a delightful and easy-to-make dessert that perfectly combines the creamy richness of cheesecake with the irresistible crunch of Oreo cookies. Serve them chilled for a refreshing treat!
- Prep Time: 15 minutes
- Total Time: 1 hour 15 minutes
- Yield: 6 servings 1x
- Category: Dessert
- Method: No-Bake
- Cuisine: American
- Diet: Vegetarian
Ingredients
Oreo Cheesecake Cups:
- 25 Oreo cookies, plus more for topping
- 1 block cream cheese, softened (1 cup, 8 oz)
- 1 cup Cool Whip, 8 oz
- ⅔ cup powdered sugar
For Topping:
- Whipped cream
Instructions
- Crush the Oreo Cookies: Place 25 Oreo cookies in a ziptop bag and crush them with a rolling pin.
- Prepare the Base: Add 1½ to 2 tablespoons of the crushed Oreos to 6 glasses, pressing them down into the bottom of each cup.
- Make the Cheesecake Filling: Using a hand mixer or stand mixer, whip cream cheese and powdered sugar until creamy and smooth.
- Incorporate Cool Whip: Gently fold in the Cool Whip until well combined.
- Add Crushed Oreos: Fold in the remaining crushed Oreo cookies into the mixture.
- Fill the Cups: Divide the filling evenly among the glasses, pressing it gently to remove any air gaps. Chill for at least 1 hour.
- Top and Serve: Before serving, add a dollop of whipped cream on top of each cup and sprinkle with more crushed Oreo cookies.
Nutrition
- Serving Size: 1 cup
- Calories: 350
- Sugar: 22g
- Sodium: 280mg
- Fat: 20g
- Saturated Fat: 10g
- Unsaturated Fat: 8g
- Trans Fat: 0g
- Carbohydrates: 38g
- Fiber: 1g
- Protein: 4g
- Cholesterol: 30mg
Keywords: Oreo Cheesecake Cups, No-Bake Dessert, Cheesecake Recipe, Oreo Recipe