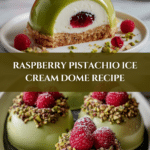
Raspberry and Pistachio Ice Cream Dome Recipe
Introduction
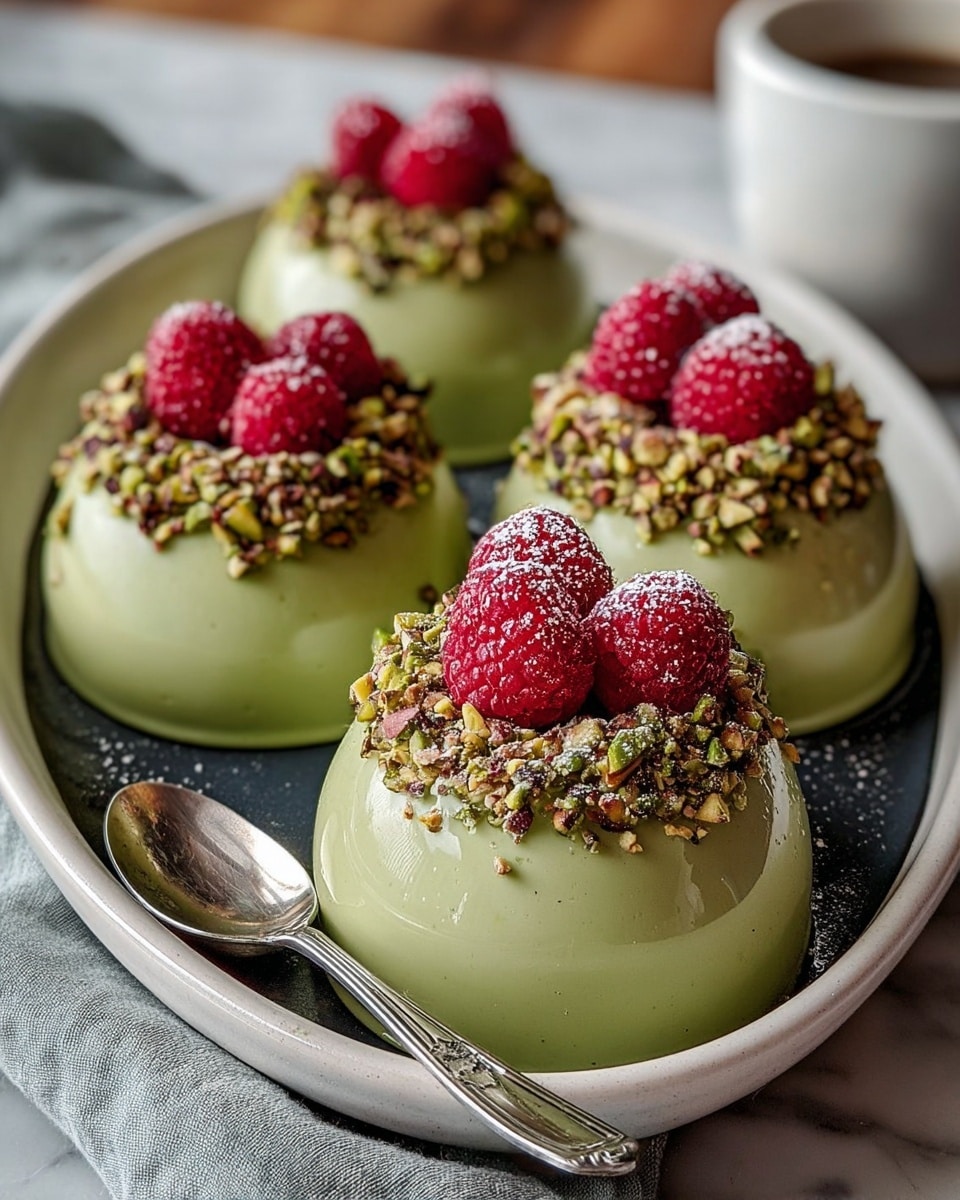
This Raspberry and Pistachio Ice Cream Dome is a stunning and delicious dessert that combines vibrant raspberry sorbet with creamy pistachio ice cream. The crunchy pistachios and soft sponge cake create a perfect balance of textures, making it a refreshing treat for any occasion.

Ingredients
- 2 cups raspberry sorbet
- 2 cups pistachio ice cream
- 1 cup crushed pistachios
- 1 cup fresh raspberries
- 1 store-bought or homemade sponge cake layer (8-inch round)
Instructions
- Step 1: Line a medium-sized bowl with plastic wrap, allowing the edges to hang over for easy removal later.
- Step 2: Spread the raspberry sorbet evenly into the bowl to form the first layer. Freeze for 1 hour until firm.
- Step 3: Spread the pistachio ice cream over the sorbet layer to create the second layer. Sprinkle crushed pistachios on top for added texture. Freeze for another hour.
- Step 4: Trim the sponge cake layer to fit the diameter of the bowl. Place it on top of the pistachio layer, pressing gently to secure.
- Step 5: Freeze the entire dome for at least 2 more hours or overnight for best results.
- Step 6: To serve, invert the bowl onto a serving plate, remove the plastic wrap, and garnish with fresh raspberries and more crushed pistachios.
Tips & Variations
- Use a high-quality sorbet and ice cream for the best flavor and texture.
- For a gluten-free option, substitute the sponge cake with a gluten-free version or omit it entirely.
- Try adding a drizzle of honey or raspberry sauce on top for extra sweetness.
- Chill your serving plate before plating to help keep the dome cold longer.
Storage
Store the ice cream dome covered in the freezer for up to 3 days. To re-harden after serving, return it to the freezer for about an hour. Avoid freezing for too long to prevent ice crystals from forming.
How to Serve
Serve this delicious recipe with your favorite sides.
FAQs
Can I prepare the ice cream dome ahead of time?
Yes, this dessert can be made a day in advance and stored in the freezer until ready to serve.
What can I use if I don’t have pistachio ice cream?
You can substitute with another nut-flavored ice cream like almond or simply use vanilla ice cream for a milder taste.
PrintRaspberry and Pistachio Ice Cream Dome Recipe

This Raspberry and Pistachio Ice Cream Dome is a stunning layered dessert featuring vibrant raspberry sorbet and creamy pistachio ice cream, crowned with crunchy crushed pistachios and fresh raspberries atop a sponge cake base. Perfect for special occasions or warm days, this no-bake ice cream dome combines tart and nutty flavors with a delightful texture contrast.
- Prep Time: 15 minutes
- Cook Time: 0 minutes
- Total Time: 4 hours 15 minutes
- Yield: 8 servings 1x
- Category: Dessert
- Method: No-Cook
- Cuisine: American
Ingredients
Ice Cream Layers
- 2 cups raspberry sorbet
- 2 cups pistachio ice cream
- 1 cup crushed pistachios
Base and Garnish
- 1 store-bought or homemade sponge cake layer (8-inch round)
- 1 cup fresh raspberries
Instructions
- Prepare the bowl: Line a medium-sized bowl with plastic wrap, ensuring the edges hang over the sides to allow for easy removal of the ice cream dome later.
- Create the raspberry sorbet layer: Spread the raspberry sorbet evenly into the lined bowl to form the first layer. Place in the freezer and freeze for 1 hour until firm.
- Add the pistachio ice cream layer: Spread the pistachio ice cream evenly over the frozen raspberry sorbet to form the second layer. Sprinkle the crushed pistachios on top to add a crunchy texture. Return to the freezer and freeze for another hour.
- Prepare the sponge cake base: Trim the sponge cake layer so it fits the diameter of the bowl. Place the trimmed sponge cake on top of the pistachio ice cream layer, pressing down gently to secure it as the base of the dome.
- Freeze the assembled dome: Freeze the entire ice cream dome for at least 2 hours, or ideally overnight, to allow all layers to set firmly.
- Serve the dome: When ready to serve, invert the bowl onto a serving plate, carefully remove the plastic wrap, and garnish the dome with fresh raspberries and additional crushed pistachios for a colorful and crunchy finish.
Notes
- Use a high-quality store-bought sponge cake or bake your own ahead of time to ensure freshness.
- For easier removal, make sure the plastic wrap is well lined and extends beyond the bowl.
- Freeze the dome overnight for best texture and easier slicing.
- Serve immediately after removing from the freezer to prevent melting.
- Can substitute pistachio ice cream with another nut-flavored ice cream if desired.
Keywords: Raspberry ice cream, Pistachio ice cream, No-bake dessert, Ice cream dome, Summer dessert, Layered ice cream cake